
Instapot Tori Broth Ramen with Ajitama
This recipe may seem like a lot of steps, but it honestly only took me 3 hours...
Bear with me through this recipe. Though simple in nature compared to how a traditional ramen would be made, I've tried to use most traditional methods as it can be for an instapot recipe. I have sorted the recipe into 3-4 separate parts to make it easier to compartmentalise the steps to each component.
Years ago when Instagram just began and Tumblr was at it's peak, I some how landed on to Keizo's Goramen blog around 2008. Keizo is the creator of the original ramen burger that hit big at Smorgasburg. Before that he was living in Japan and eating and creating ramen all over the country. At the same time I was also reading Marc Matsumoto's No Recipes blog religiously. These 2 blogs were constant inspirations for my learning curve to cooking, and also brought me into the world of ramen. Matsumoto's integrity and perfectionism is admirable and only now have I come back in full circle, 10 years later, to using his recipe as my inspiration.
I've always wanted to make ramen broth but it seemed like a daunting and intimidating project. Serious Eats version consisted of simmering for 9 hours, I definitely didn't have time for that so I went with the instapot version. Much easier, more efficient. I went to borrow a friends instapot...and to this day I still have it. This made it easier to break through my comfort zone and get into it. With my 1st attempt last Feb 2017, I made an exceptionally milky chicken ramen mostly with Marc's tori ramen recipe and Serious Eats recipe tips. During my 2nd attempt, I made the mistake of buying chicken wingtips with the wing, which all the blood and scum didn't boil out completely leaving me with a murky broth. Tasty, but still murky.
As people say 3rd times the charm, so instead of trying to replicate my first success, squeezing my heart out to bring out a creamy collagen filled broth, I decided I would stick with making a shoyu (soya sauce) based broth. I went to the local wet market butchers section, bought raw chicken carcasses and started boiling the bones to let all the scum and blood to boil out, and removed any remaining internal organs stuck to it. Then stuck it under cold water to wash off any excess scum. That process took at least an hour, but it was well worth it because this was my most successful and closest to any shoyu ramen I've ate at a shop.
Every ramen doesn't only encompass soup but also tare, which is a very important component of every bowl you eat. This concentrated flavour agent is flexible and can be made to your liking. I took my inspiration for Matsumoto's with my own touch. I also made enough broth for 6 bowls!
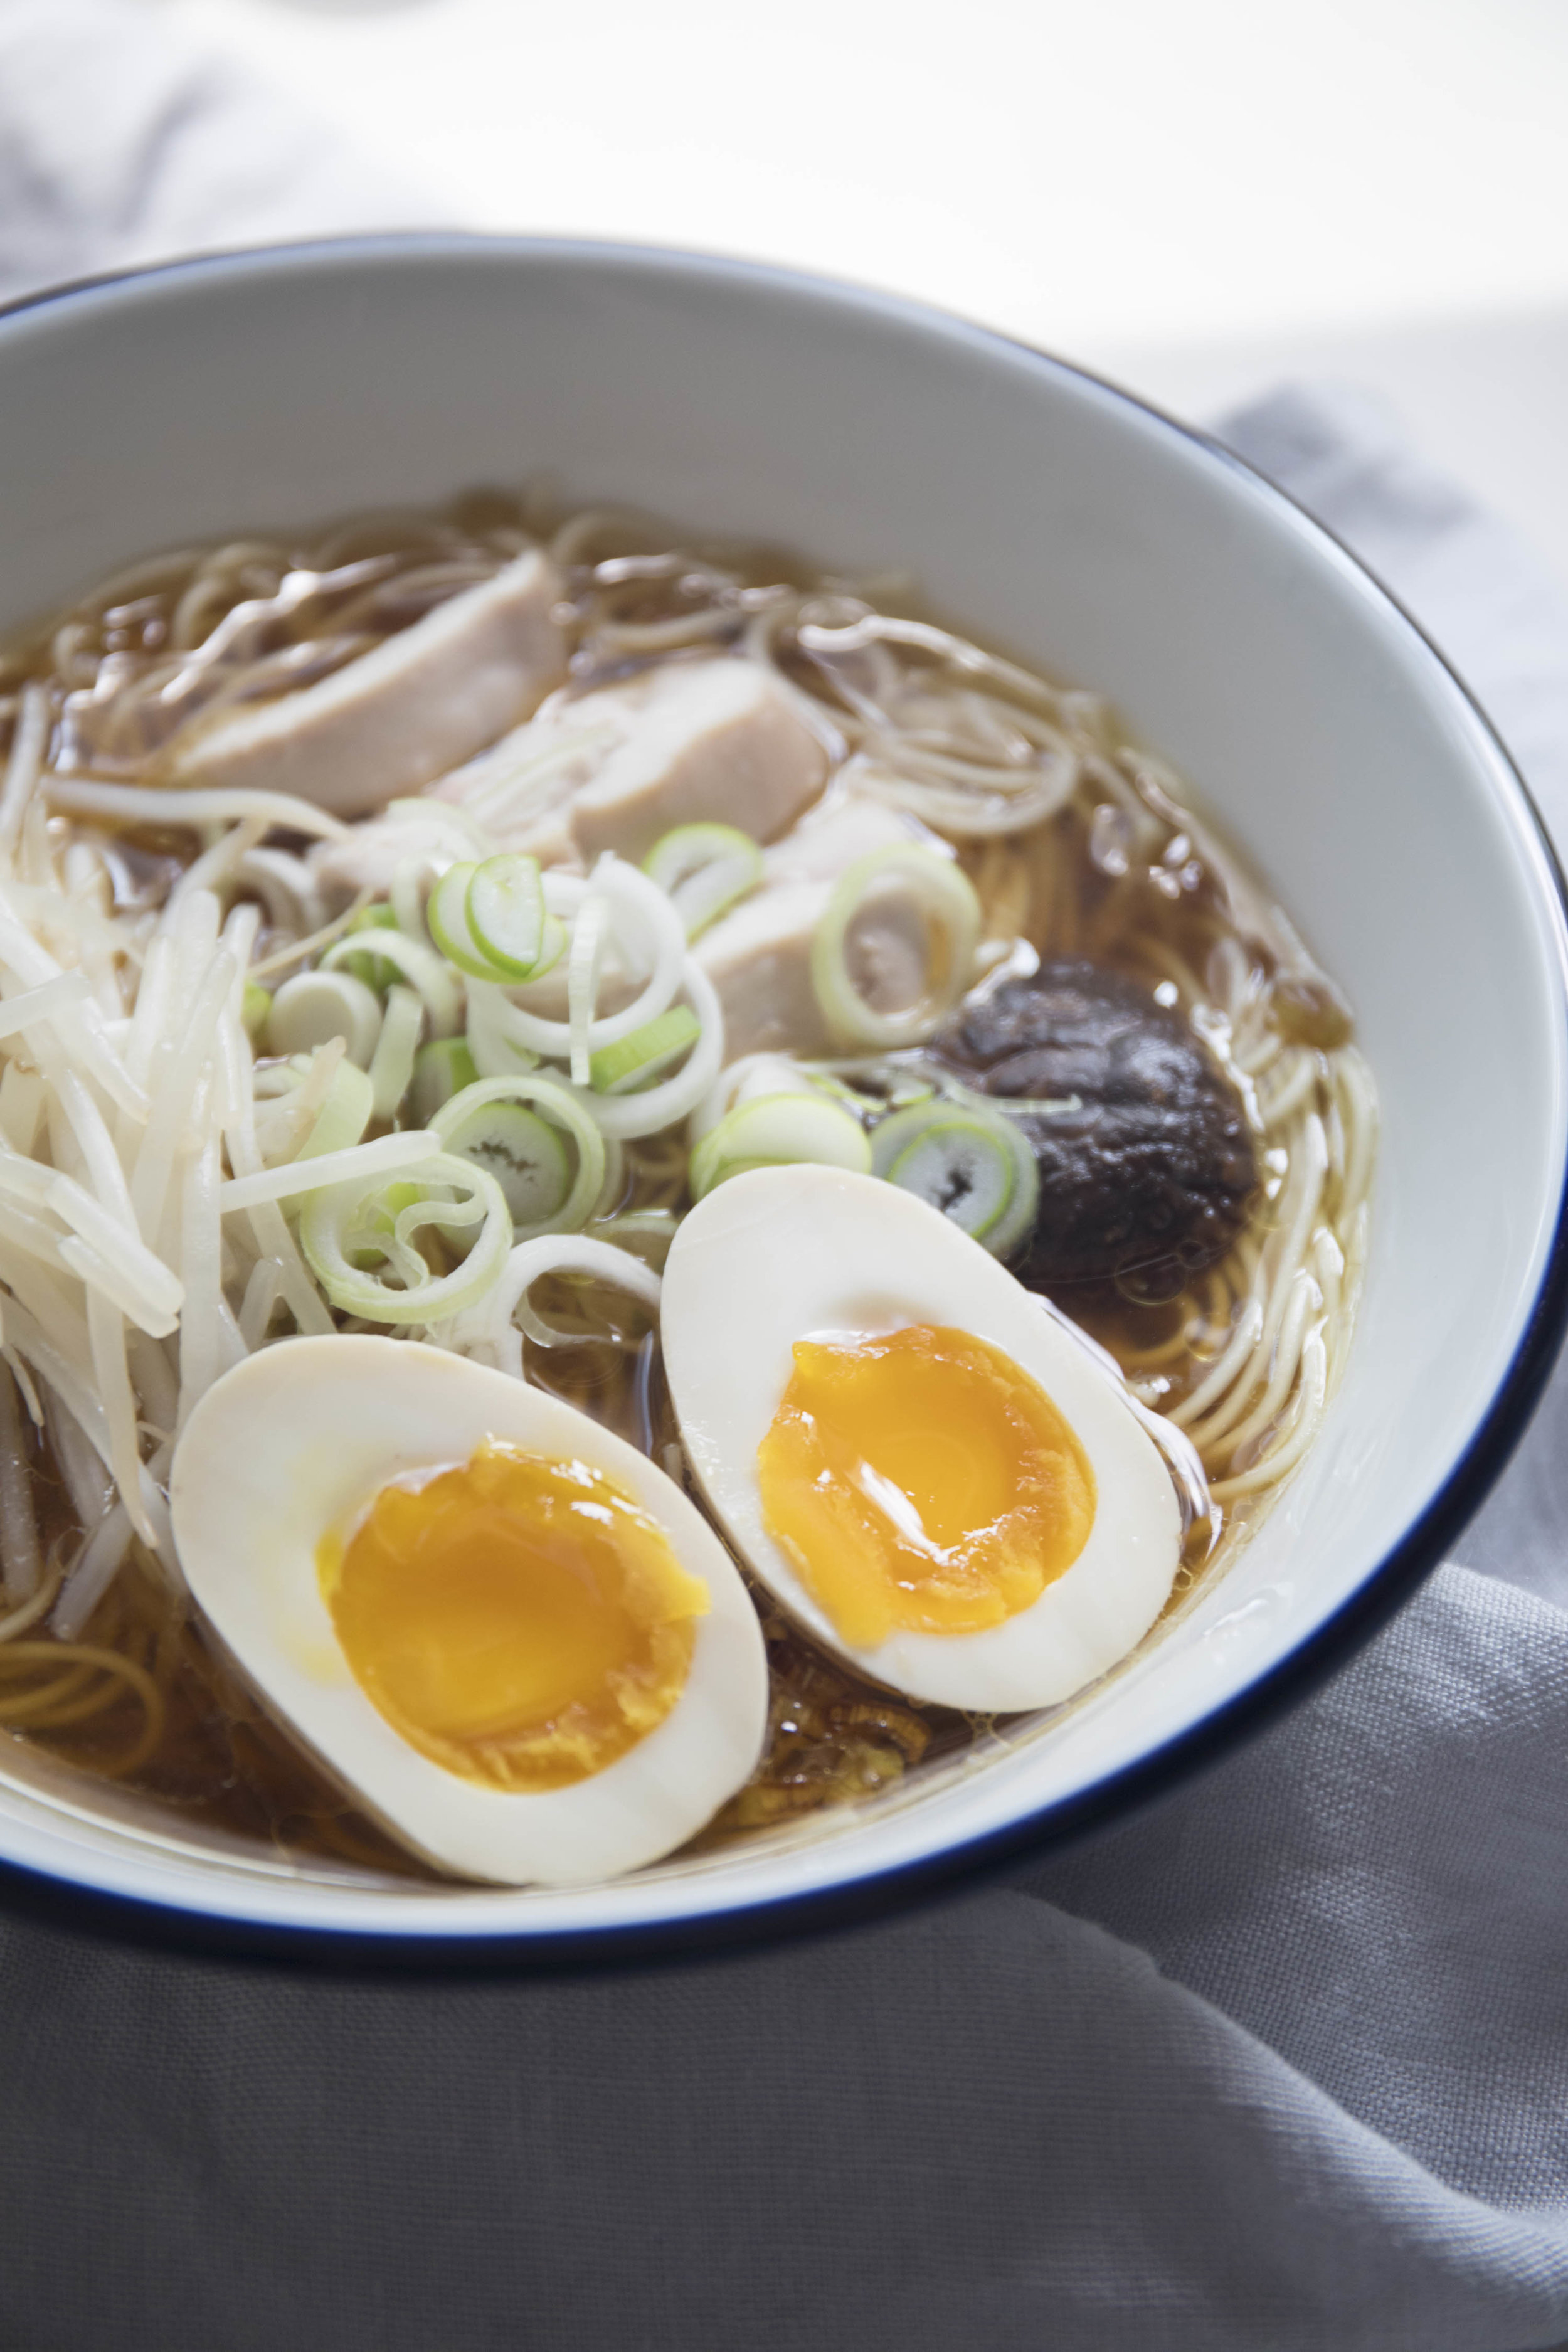
As for toppings? EGGS. Who doesn't love eggs? I have an obsession, obviously. This definitely needs a soya ajitsuke tamago (Japanese marinated soft-boiled egg). Without it, it wouldn't be a soothing bowl of ramen.
As you know, everything is flexible to your own tasting, so try away!
2 of the most important ingredients are broth and the noodles...
Noodles
Store bought Chinese noodles or Japanese ramen noodles to your own portions.
For my first try I used a store bought ramen which wasn't very good in Hong Kong, then went on a search for better pre-made noodles which led me to the local market's noodle shop. It was legit, just like Tokyo style, high alkaline based noodle, but was a far distant to get. 2nd try I went to buy Chinese noodles instead that was too thick for my soup base. I finally ended up using store-bought dried Chinese noodles which had the best effect, but I'm definitely going to make my own next time.
If you are adamant on trying to make your own which I haven't tried yet, you can either look at this recipe here, or the alternative is to use spaghetti with a spoon full of baking soda, which you can also test with this method from here.

Ingredients for broth:
- 2 10inch steeping bags
- 1 lbs chicken carcasses (gutted of excess organs and gizzards)
- 1 dozen of chicken wingtips
- 1 dozen of chicken feet
- 1 stalk of leek (cleaned, and cut into 2 pieces)
- 4 cloves of garlic (unpeeled)
- 4 slices of ginger (without skin)
- 1/2 yellow onion (charred in pan or on stove)
- 1 dozen shitake mushroom (if bought dried, you will need to soak)
- Dried Kombu
- Salt (taste to your own liking)
Ingredients for Tare:
- 3 tablespoons vegetable oil
- 1/4 cup light soya sauce
- 1/2 stalk of diced scallion (white part)
- 1 tablespoon sesame oil
Ingredients for Ajitama (marinated egg) for 4 eggs:
- 1 cup water
- 1/2 cup light soya sauce
- 1/2 cup mirin
- 2 stalks scallions (cut in halves)
- 2 cloves garlic (unpeeled)
- 2 slices of ginger (unpeeled)
- 2 tablespoons brown sugar
Extra Topping ingredients:
- Bean sprouts (ends picked off, and sprouts blanched for a 1 min)
- Boneless chicken thigh in soya sauce
- 1/2 stalk diced leek
- Marinated Menma aka bamboo shoot (optional, can be bought pre-packed from Japanese supermarket)
Instructions for broth:
I managed to get freeze-dried powder kombu, so I put a whole pack into my instapot, otherwise if you get real dried pieces of kombu you will have to soak that accordingly before putting it in your instapot. Next, Grab your 1/2 onion, and on a pan or gas stove. Grill and char it so it becomes slightly burnt and place in the pot.
For the chicken bones, Put enough water into 2 pots to cover all ingredients and bring to a boil, one to put in chicken bones, and the other with chicken feet and wingtips into one. Let all scum and blood to be boiled out. For chicken bones it may take longer, possibly 20 mins. For chicken feet and wingtips, est. 10 mins or so. When done so, place under cold water tap, and rinse scum and excess innards with water. Make sure there are no remaining brown bits. Once clean place chicken bones in 1 steeping bag, and the chicken feet and wingtips in another one. Place in instapot with the rest of the ingredients such as scallions, ginger, shitake, charred onion, kombu, and salt.
Put instapot on Soup mode, on "more", and let it boil for 120 (2 hours). I even put mine on another 1 hour for optimal boil down. After that remove both steeping bags out of the pot. I actually placed my chicken feet+wingtip bag aside so that I could experiment with the effects of collagen milk soup base. (Which I will show, but not explain for this recipe since it's still testing).
Set soup aside to be assembled with the rest. If you plan on keeping soup base in fridge, it will turn into a gelatinous texture, and you'll be able to serve it for another 4 days. Otherwise you could leave it to cool, and place in freezer in a tupperware to use for up to a month like any other homemade broth.
Instructions for tare:
While the broth is boiling in the instapot. In a small pan, heat up a the oil to medium high, then drop in the diced scallions. Stir and let it fry until slightly golden brown, then turn the heat down. Once at simmering medium-low heat, put in soya sauce and let it simmer for a little, before putting in the sesame oil to let the aroma heat up. Once the ingredients are combine for about 10-15 seconds, turn off the stove and put the tare aside to cool. just a small tip, I personally use soybean oil from the Japanese supermarket, which is good for its high-smoking point sustaining, best when it comes to Asian cooking and definitely recommended.
Ingredients for Ajitama (marinated egg) for 4 eggs:
Combine all ingredients listed above for the ajitama into one bowl, and stir till sugar has dissolved. Bring 4 cups of water to a boil in a pot, and put in 4 eggs (or more if you want) and boil it for 6.5mins. Remove from stove and drop eggs into a ice bath with water to cool down. Peel eggs, shake "eggcess" water and drop into the soya sauce mix for up to 4 hours. It can be placed longer, but could get very salty when done so.

Extra ingredients placement:
Bean Sprouts - In many Asian markets it's not hard to get bean sprouts in a bag. I luckily live by a local wet market in Hong Kong. Not only do I get to support to local auntie and uncles, I also get to buy bean sprouts that are freshly sitting in a tub, bought by a giant handful for less than $1USD. Remember to take both ends of the tips off while soaking in cold water. Then in boiling water, let it blanche for 1 min, before taking them out. Without needing to put it in cold water. Put it aside for toppings use.
Marinated Menma aka bamboo shoot - Because buying bamboo shoots, which you have to peel, soak, and cut is a real pain (I've seen my aunt do it), I usually just buy it prepackaged from the local Japanese store. It is a hard find even in Hong Kong, so I can't imagine it's easy if you live in North America to do it. But if you find it, it's delish! Even better than doubling up the time to make it yourself.
Marinated Chicken Thigh - So while the instapot is going. I used the easier way with the Anova in another pot, turn it up to 74C for 1.5 hour. Drop a Sous vide safe plastic bag in with 2 chicken thighs. Using the leftover marinade from the Ajitama, I pour some in. Let it soak for 10 mins, and plop it into the pot. Let the chicken run it's course. Take it out, let it rest/cool for 2 mins, then cut it up into slices and put aside. If you don't have an anova, in a separate bowl put your chicken thighs in and pour the remainder of your ajitama marinade and let it soak for 10 mins. Prepare a pan beforehand, spread oil about 2 tablespoons and heat accordingly to medium, Put the chicken it and let it fry for a little. Make sure you turn it around just when one side has cooked through, then turn to the other side to cook the chicken through. While cooking the chicken, pour in the rest of the marinade from the bowl to the pan. The goal is not to create a crispy chicken, but a tender and flavourful soya chicken. If you have a lid for the pan, cover the pan over it. and let the chicken sit and steam in its flavours until cooked. Make sure your marinade doesn't burn!

